
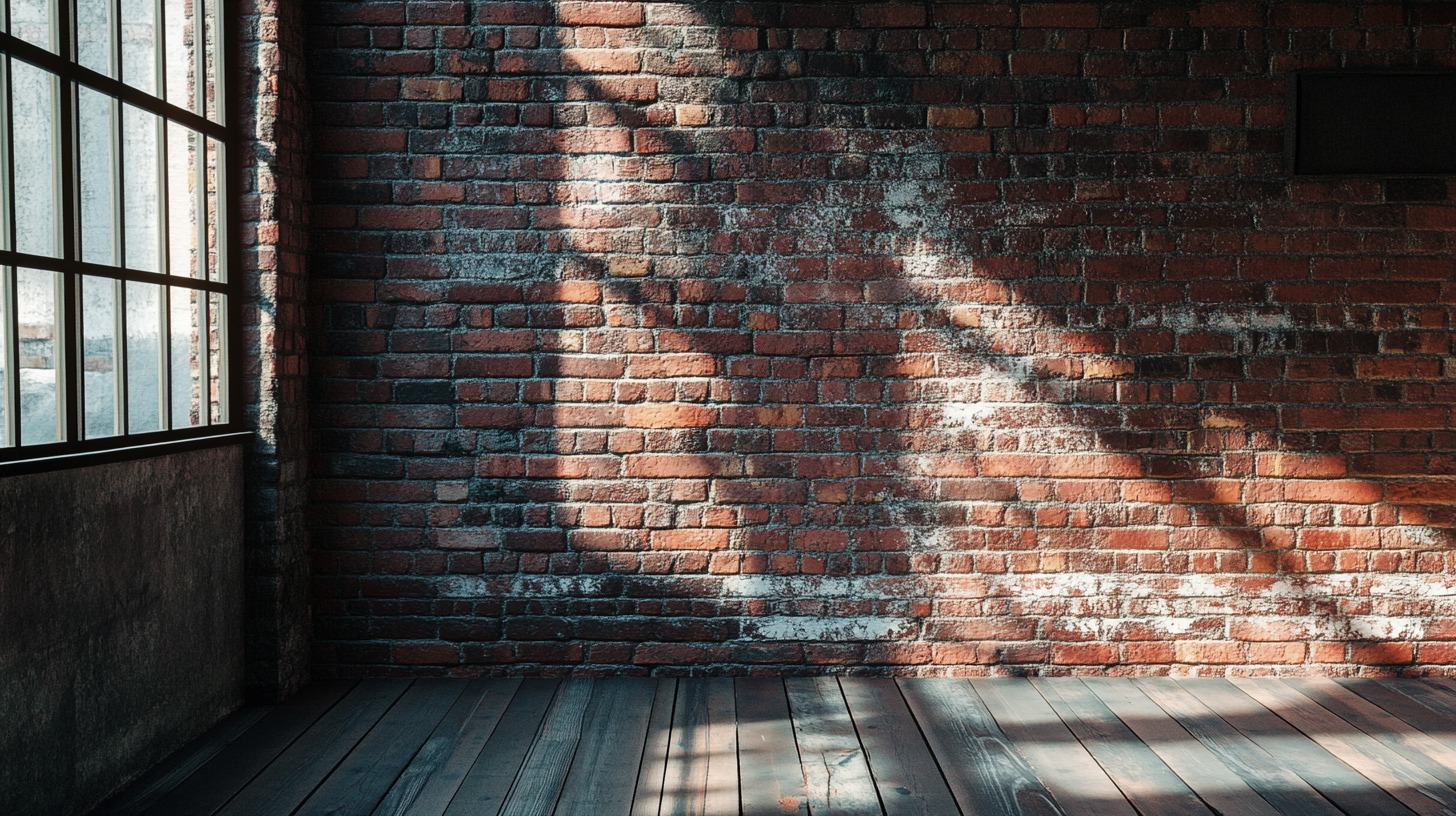
Brick paneling is a popular alternative to traditional brick walls for homeowners seeking a stylish yet cost-effective solution to enhance their interiors.
Offering the aesthetic appeal of real brick, brick panels are lightweight, easy to install, and versatile in their design applications.
We’ll explore the steps to selecting, installing, and maintaining brick panels.
How to Choose the Right One?
When selecting brick panels for your space, several factors should be considered to ensure the best results.
Start by assessing the condition of your existing wall surface. If your walls are made of stone, plaster, drywall, or timber, they should be clean, dry, and structurally sound before applying.
It’s also important to avoid installing brick in damp or fire-prone areas such as fireplaces or basements, as excessive heat and moisture can damage the panels.
Another consideration is color matching. They come in numerous colors, including popular shades like white, red, and terracotta. Make sure the panels you choose complement the existing furniture, wall colors, and overall décor.
Experimenting with lighting can also help ensure that the panels blend well with your room’s color scheme.
Location and space are equally important. These are ideal for accent walls or covering old, worn-out ones.
Uneven wall surfaces can pose a challenge, so it’s crucial to plan accordingly and measure your walls to ensure you have enough material.
Consider your homeownership status. If you’re renting, check with your landlord before installation, as it may impact the property’s resale value or require removal later.
Also, check out why Brick Siding is so popular in 2024.
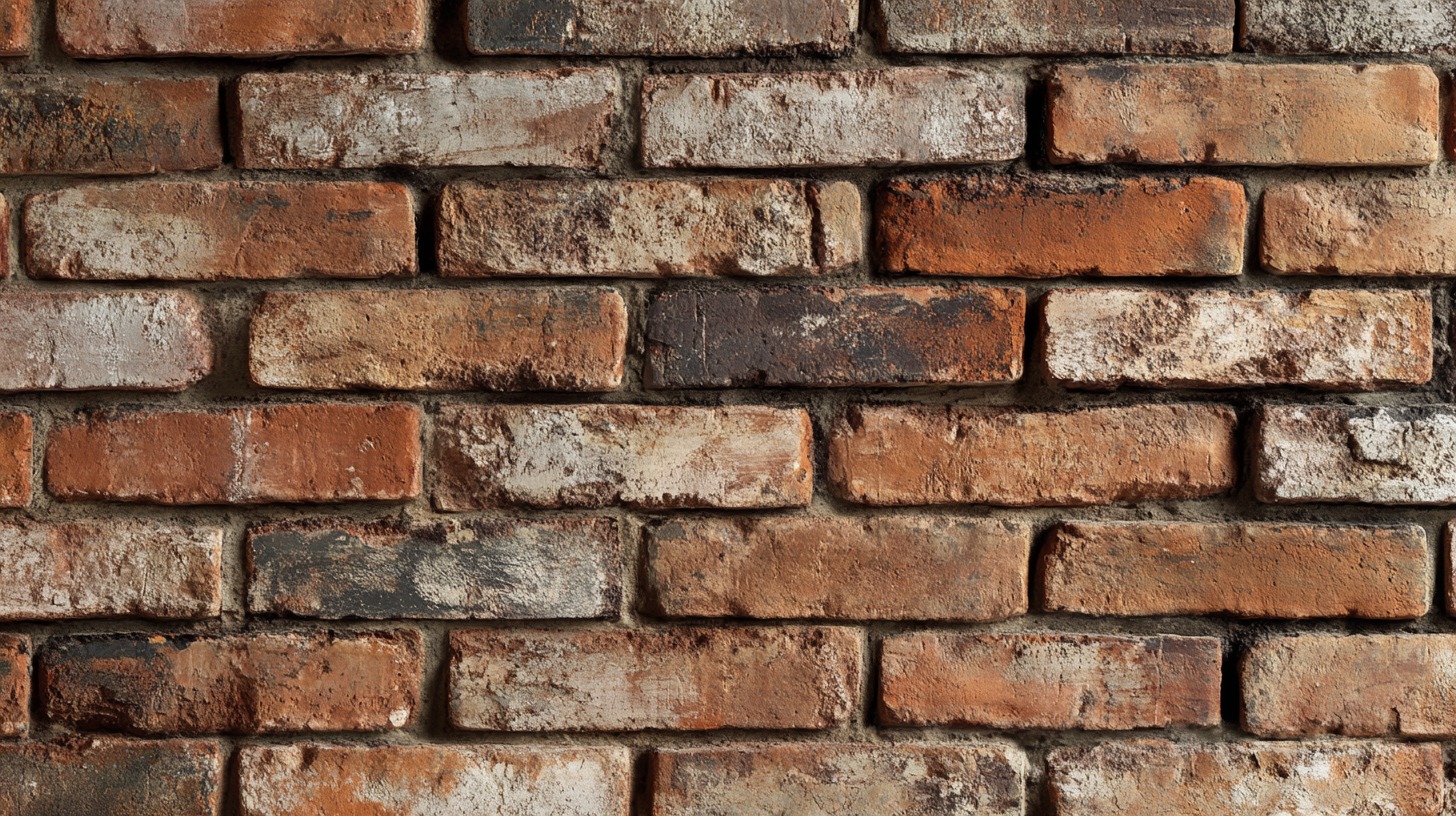
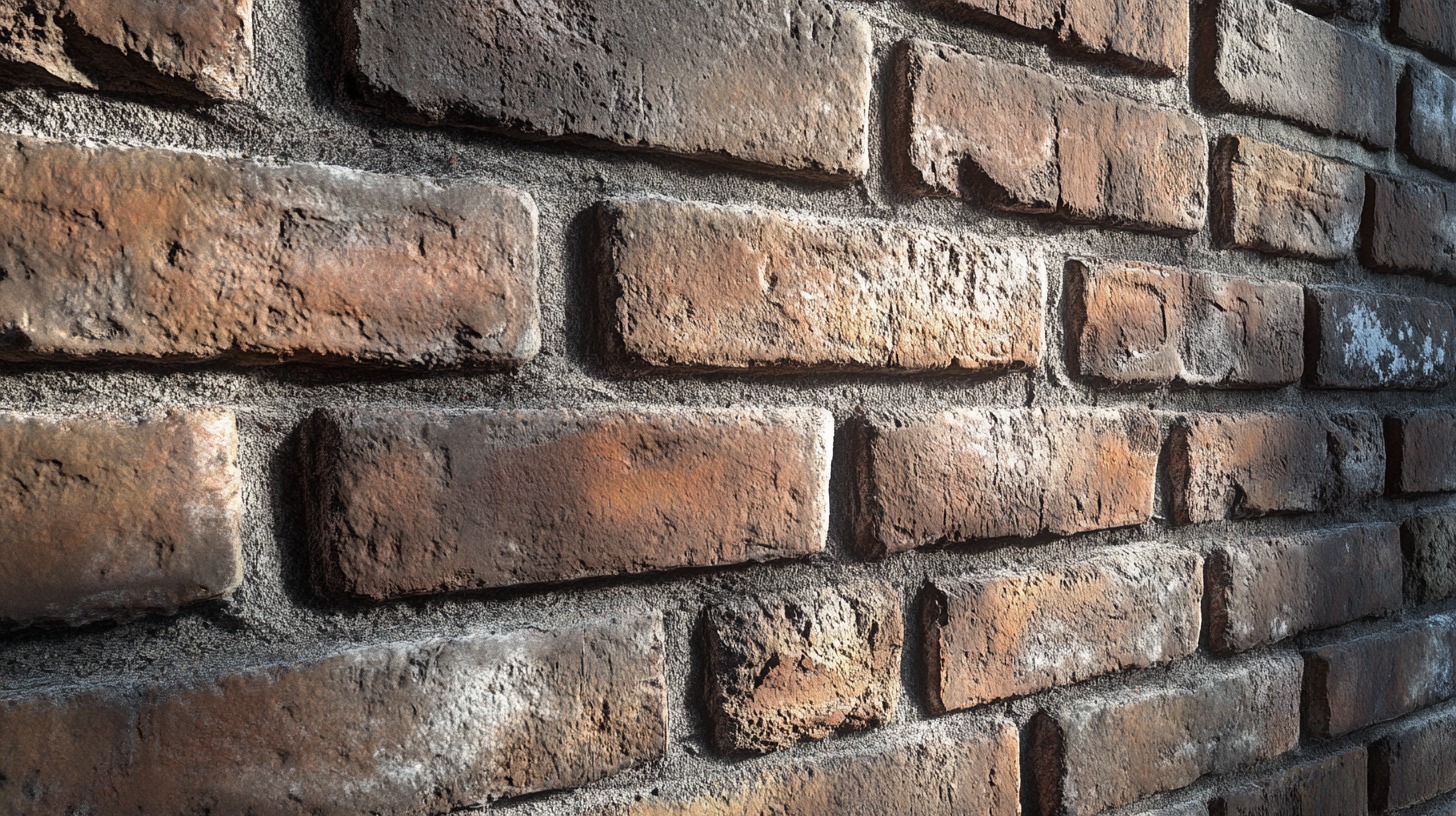
Differences Between Real Brick, Brick Veneer, and Faux Brick Panels
Being aware of the differences between real brick, brick veneer, and faux brick panels is essential when deciding which option best suits your home.
Real brick, as the name implies, is made from fired clay and provides long-lasting durability and structural integrity.
However, real brick walls can be expensive to install and require significant construction work. Brick veneer, on the other hand, is a thin layer attached to the surface of a wall, offering the appearance of solid brick without the same weight or cost.
While less expensive than full brick, it still requires masonry work and can be labor-intensive.
Faux brick panels, made from materials such as polyurethane or PVC, offer a lightweight alternative that mimics the appearance of real brick. These panels are pre-formed and installed with adhesives and screws, making them an easy DIY project.
Although they lack the authentic texture and durability of real brick, faux panels are much more affordable and simpler to install, making them ideal for homeowners who want a quick design update without the hassle of full-scale construction.
Tools and Materials Needed
Installing brick panels requires specific tools and materials to ensure a professional-looking finish.
The basic tools you’ll need include a miter saw or table saw for cutting panels to size, a J roller for pressing the panels firmly against the wall, and a caulking gun for applying adhesive.
You’ll also need a tape measure to get precise measurements, construction adhesive to secure the panels, and nails or screws to provide additional support.
Other optional tools that can make the installation process smoother include a brad nailer for quick and efficient fastening, outlet spacers for dealing with electrical outlets, and spackle for filling in any gaps or imperfections.
Having tile spacers on hand can help ensure even placement of the panels, while a protective sealant can be applied after installation to enhance the durability of your brick wall.
Step-by-Step Guide to Installing Brick Paneling
Now let us talk about the installation part.
1. Preparing the Wall Surface
The first step to installing brick panels is preparing the wall surface.
- Dirt
- Dust
- Grime
If there are any cracks or uneven areas, repair them to ensure the wall is smooth and dry.
In some cases, you may need to apply a base layer for better adhesive bonding, depending on the type of wall material.
2. Measuring and Cutting Panels
Once the wall is ready, measure the height and width to determine the number of brick panels needed.
- Outlets
- Windows
- Corners
Accurate cutting is essential to ensure a seamless fit during installation.
3. Dry Fitting the Panels
Before securing the panels, it’s a good idea to dry-fit them on the wall to check the layout and ensure everything fits correctly.
Use chalk lines to mark the placement of each panel, starting from the bottom left corner and working your way up and across.
It will help maintain an even installation and minimize adjustments later.
4. Applying Adhesive and Installing Panels
Apply construction adhesive to the back of each brick panel, ensuring full coverage.
Press the panel firmly against the wall, and use nails or screws for added security if needed.
Start at the bottom left corner of the wall and work upwards, pressing the panels with a J roller to ensure they adhere properly.
5. Grouting
If your brick panels require grout, mix the grout according to the manufacturer’s instructions and apply it with a grout bag.
Use a damp sponge to smooth out the grout lines, making sure they are even.
6. Finishing Touches
After the panels are in place and the grout has dried, clean off any excess grout with a damp sponge.
You may also need to apply caulk around the edges or corners for a polished look.
If there are any exposed nails or screws, paint them to match the color of the panels.
Finally, consider applying a protective sealant to enhance the longevity of your faux brick wall.
Maintenance and Care
Once installed, brick panels are relatively low maintenance, but regular care will keep them looking their best for years.
Start by dusting the panels regularly with a soft cloth or brush to remove dirt and debris.
For deeper cleaning, use a mild detergent and a soft sponge to gently wipe down the panels.
Spills and stains should be cleaned up immediately to prevent them from setting in.
If a panel becomes damaged, you can remove and replace it with a new one, ensuring that the adhesive and grout are applied evenly.
Regular inspection of the panels is a good idea, especially in high-traffic areas, to identify any signs of wear or damage early on.
With proper care, panels can maintain their aesthetic appeal and functionality for years to come.
Also, if you have a brick patio, we’ve prepared some cleaning tips for you.
The Bottom Line
Brick panels are a versatile and affordable way to transform any room.
With careful selection, proper installation, and regular maintenance, you can achieve the look of real brick without the cost or hassle.
- Related: For a more permanent and structural option, consider exploring brick facades for your home to achieve that classic, timeless look.