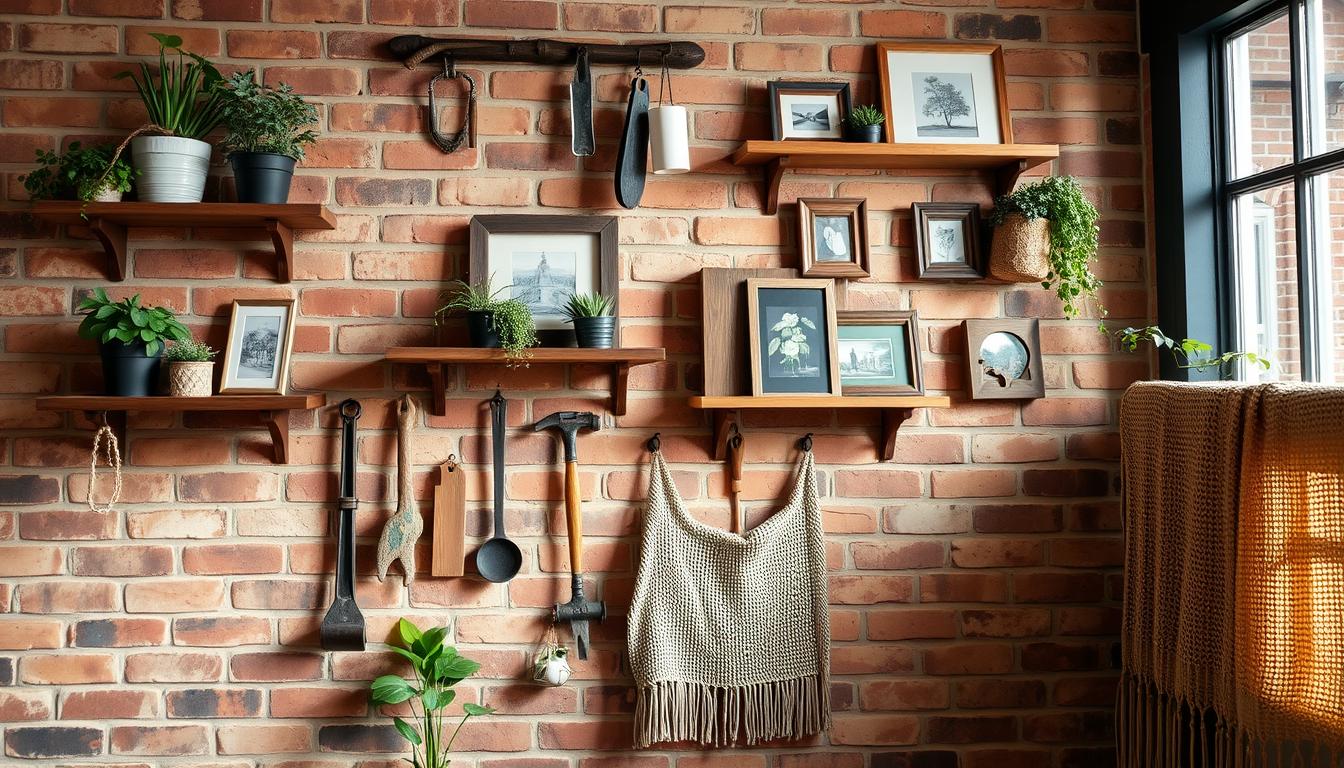
Incorporating a rustic brick wall into your home can create a cozy and personalized decor that exudes country charm. This trend, especially popular among DIY enthusiasts, brings timeless warmth to any living space. Many homeowners find tremendous satisfaction in such projects, adding a handmade decor touch that speaks to their unique style. Whether you’re looking to breathe new life into your farmhouse kitchen or want to create a cozy atmosphere in your living room, a brick accent wall offers the perfect blend of natural materials and cozy aesthetics.
The journey of transforming a plain wall into a stunning rustic brick feature isn’t as daunting as you might think. Take inspiration from real-life stories of homeowners who have successfully tackled this project. For instance, one DIY enthusiast shared their experience of installing a brick veneer wall in a 1906 farmhouse. The process involved a mix of physical labor and creative planning but ultimately resulted in a beautiful accent wall that became the centerpiece of their home. From sourcing materials at Mutual Materials and Amazon.com to meticulously selecting the Slimbrick “Ashland Used” style, their story showcases how a brick wall can encapsulate the essence of country charm.
Planning your project involves some strategic steps, from choosing between veneer and full bricks to ensuring your project stays within budget. Take into account the tools and materials you’ll need, such as a trowel, level, grout bag, and painter’s plastic. The installation itself can be broken into manageable steps, from preparing your wall surface to laying the bricks and applying Omnigrip at the base for extra stability. The grouting process might even feel like cake decorating, as one DIYer humorously noted! Patience is key, allowing enough dry time for each layer to achieve a professional finish.
Moreover, rustic brick wall decor not only enhances your home’s aesthetic but also adds an element of history and personality to your spaces. It offers a tactile experience that layers your home with stories and character. By the end of your project, you’ll have a beautiful, handmade decor feature that exudes coziness and sophistication.
Key Takeaways
- Transform any space with a rustic brick wall that adds cozy aesthetics and a personalized decor touch.
- Choose between brick veneer and full bricks, considering project scope and budget.
- Plan your project meticulously, from tools and materials to design inspirations and cost estimates.
- Implement each step methodically, ensuring proper dry time and application techniques for a professional finish.
- Embrace the tactile and historical essence of rustic brick walls, adding unique stories and character to your home.
Inspiration and Planning for Your Rustic Brick Wall
Undertaking a DIY project to add a rustic brick wall to your home involves careful planning and inspiration gathering. This journey starts with choosing the right type of brick for your specific needs, considering both aesthetics and practicality. With valuable insights and an infusion of country style, you can transform any space with a warm, inviting ambiance.
Choosing the Right Brick: Veneer vs. Full Bricks
You need to weigh the pros and cons of using full bricks versus brick veneer. Full bricks deliver a traditional solid feel but can consume a lot of space and require robust structural support. In contrast, brick veneer provides a thinner profile while still capturing the rustic charm, making it a popular choice for home improvement projects. This thinner material simplifies installation and retains plenty of character, perfect for interior styling.
Design Inspirations: From Country Kitchens to Cozy Living Rooms
Gathering design inspiration is key to envisioning your finished project. Platforms like Pinterest abound with creative wall ideas, showcasing everything from country kitchens to cozy living rooms adorned with rustic brick walls. A well-styled brick wall can seamlessly blend into any space, whether you’re aiming for a vintage kitchen or a relaxing living room with a warm, rustic ambiance. Explore these ideas to find what resonates with your own interior styling preferences.
Budgeting Your Project: Costs and Time Estimates
Effective budgeting is crucial for a successful project. Calculating the total cost involves not just the materials but also the time required. For instance, a faux brick accent wall project may take only a few hours to complete, making it an affordable and time-efficient home improvement option. Depending on the project size, material costs might range around $650 for an 85 sq ft wall. Don’t forget to factor in additional décor items from stores like Target, Home Depot, and Ikea to complete your rustic design.
Step-by-Step Guide to Installing Your Brick Wall
Embarking on a DIY project to create a rustic brick wall is a rewarding home improvement task. This step-by-step guide will walk you through the entire installation process, from preparing your wall surface to the final grouting touches. Ensuring a seamless and aesthetically pleasing result requires attention to detail and careful planning. Let’s start by getting your wall ready for the transformation.
Preparing Your Wall Surface
Preparation is crucial to the success of your brick wall installation. Begin by cleaning the surface to remove any dust, grease, or loose material. For best results, consider installing cement board or water-resistant drywall, especially if you’re working on a new wall. Drawing chalk lines horizontally at one-foot intervals helps in maintaining alignment as you apply the bricks. Ensure the surface is rough enough to help the mortar adhere effectively; using Spackle that changes color as it dries can be particularly helpful here.
Tools and Materials You Will Need
Having the right tools and materials on hand is vital for a smooth installation process. You’ll need a trowel, a level, a saw with a diamond blade for cutting bricks, a flexible joint knife, and a grout bag. Omnigrip Adhesive is highly recommended for its strong bonding properties. Additionally, you’ll require sanded grout in your desired color and miscellaneous tools like a pencil for marking lines. Preparing your tools and materials before starting the project will save you time and ensure an efficient workflow.
Installation Process: Laying and Grouting
The first step in the actual installation involves laying out your brick pattern on the floor to avoid color clusters. Begin by buttering the back of each brick with Omnigrip Adhesive using the flexible joint knife, then press the bricks onto the wall, starting from the bottom. The running bond pattern, alternating full and half bricks, is a popular choice. Use your fingers to space the bricks evenly, bypassing the need for tile spacers. Once the adhesive sets, mix your grout to a toothpaste-like consistency and fill the gaps using a grout bag. Shape the grout with a brick jointer for a professional finish. Monitor any drips or excess grout to keep your work area clean.
By following these steps diligently, your DIY rustic brick wall will become a stunning feature in your home, encapsulating your creativity and enhancing your living space with a touch of countryside charm.

