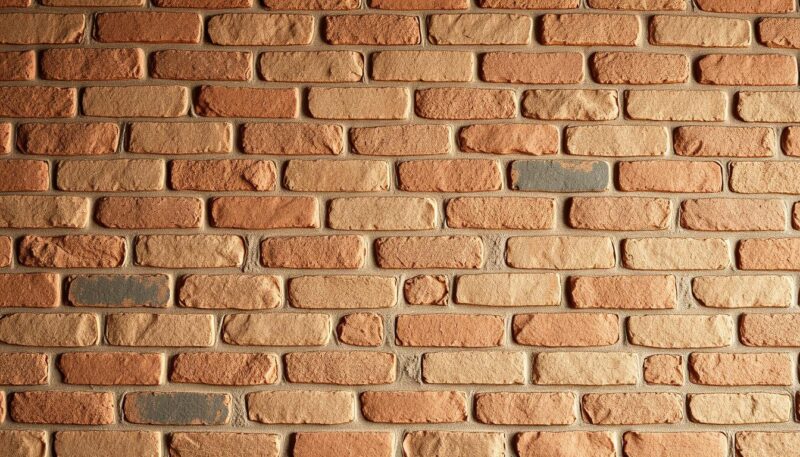
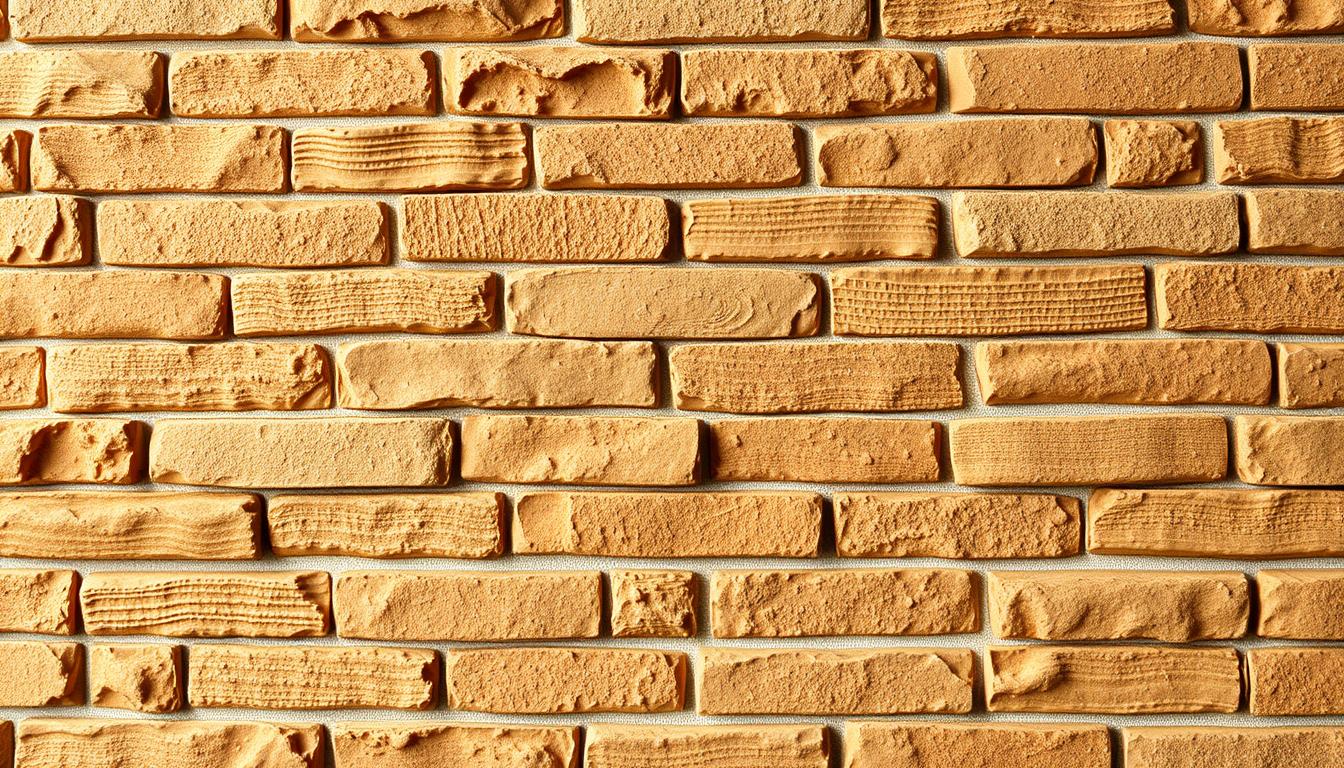
Embrace the opportunity to inject a sophisticated, yet accessible, aesthetic into your home with faux brick wall panels. These panels offer the textured appearance of real brick but are crafted from adhesive MDF board, making them a lightweight and convenient alternative to traditional brickwork. Available in an array of colors, including the popular Brownstone shade supplied by Ninthandvine, faux brick wall panels promise an elevated ballpark vibe, ideal for thematic rooms or just a modern decor twist. Beginners can find confidence in tackling this project over a weekend, relishing in the simplicity of the installation process which does not require bricklaying experience.
Key Takeaways
- Faux brick wall panels are a beginner-friendly DIY project that can transform your interior design.
- Lightweight and easy to install, thanks to adhesive MDF board construction.
- Popular Brownstone shade by Ninthandvine offers a modern, stylish aesthetic.
- No prior bricklaying experience needed; perfect for weekend projects.
- Cost-effective home makeover option, approximately $150 for a standard project.
Getting Started: Understanding Faux Brick Wall Panels
Faux brick wall panels provide a versatile and cost-effective solution for those looking to introduce the rustic charm of brick into their interior designs. These panels, designed for easy installation, are often made from MDF, making them ideal for home improvement projects. Their lightweight materials ensure they are manageable for DIY enthusiasts and professionals alike. Let’s delve deeper into what faux brick wall panels are and the materials and tools needed to get started.
What are Faux Brick Wall Panels?
Faux brick wall panels mimic the texture and appearance of real bricks, offering a modern decor solution without the permanence and weight associated with actual brick walls. Typically made from MDF, these panels are designed for interior use only and are not suitable for damp environments. For a seamless look, the panels fit together perfectly. They are also numbered on the back (1, 2, 3, 4) for color variation, ensuring a natural and unified appearance on your wall.
Materials and Tools Needed
Embarking on a faux brick wall panel project requires some preparation and a few essential tools. The panels are installed from the bottom up, and during installation, applying pressure with a J roller can help secure them in place. Here’s what you’ll need:
- Outlet spacers for fitting around outlets
- A brad nailer (optional) for additional securing
- A table saw for trimming panels to fit the ceiling
- One tube of Loctite® PL® 3X Premium Construction Adhesive for every three panels
- Textured caulk (about one tube for every four panels)
Following an installation guide can significantly simplify the process, making your home improvement project not only feasible but also enjoyable. These panels allow for easy installation without compromising on style, making them a preferred choice for those looking to enhance their modern decor sensibilities. Whether you’re aiming to create an accent wall or fully revamp a room, faux brick wall panels present a delightful blend of aesthetics and functionality.
Faux Brick Wall Panels Installation Tips
Implementing faux brick wall panels can transform any space, bringing in a rustic charm without the complications associated with real brick. The step-by-step approach simplifies this undertaking, ensuring a seamless process from start to finish. Whether you’re diving into a major renovation or seeking temporary decor enhancements, understanding the nuances of installing faux brick panels is crucial. Here’s everything you need to know.
Preparation and Measurement
Begin by measuring the installation space meticulously to obtain the correct number of panels needed. It’s recommended to have at least six panels for a typical 17 ft. by 17 ft. wall. Next, prepare your work area: ensure walls are clean, dry, and free from obstructions. Having the right tools, such as a table saw, measuring tape, and construction adhesive like Sikaflex, can greatly facilitate this process.

Installation Process
Once your prep work is completed, adhering to a detailed installation guide is vital. First, apply construction adhesive to the back of each panel. Then, press the panel firmly onto the wall, ensuring it is level. For added security, use screws or a nail gun to fasten the panels.
- Apply construction adhesive.
- Place the panel on the wall.
- Fasten with screws or nails for additional security.
This entire process typically takes about four hours and ideally requires at least two people. This helps manage the panel easier and ensures proper alignment.
Cutting and Securing Panels
Cutting panels accurately is essential for a flawless finish. Use tools like a table saw or Dremel Hand Saw and ensure you’re wearing safety glasses. For outlets and edges, measure and mark your panels before cutting to avoid mistakes. Holding onto additional joint filler and retouching paint helps address any imperfections or gaps.
- Use a table saw or Dremel Hand Saw for precise cuts.
- Wear safety glasses.
- Measure twice, cut once.
Final Touches
Once all panels are in place, it’s time for some final touches. Check for gaps and use joint filler where necessary. Retouching paint can help blend in any exposed edges or imperfections. Faux brick panels like those from Panespol come in a variety of finishes—Red Caravista Bricks, White Bricks, and Espiga Teja—that you can further customize with paint.
This step-by-step approach ensures your faux brick installation is not only easy but also cost-effective, typically staying under $200. From preparation to the final touch-ups, these renovation ideas offer a stunning transformation for any space, making faux brick panels a highly appealing option for temporary decor or permanent enhancements.
Conclusion
In conclusion, faux brick wall panels present an accessible and transformative solution for homeowners looking to rejuvenate their living spaces with a stylish, brick-like appearance. These panels are not only lightweight but also offer easy installation, making them ideal for DIY projects. Faux brick, available in 4×8-foot sheets, is adept at mimicking the color and texture of real bricks while being made from materials like hardboard, foam, or polyurethane. This adaptability makes faux brick suitable for various home improvement endeavors.
Throughout the article, we’ve delved into comprehensive tips for successfully installing faux brick wall panels. Starting from preparation and measurement, to the actual installation and finishing touches, every step has been explained in detail. This ensures that even those new to DIY projects can achieve stunning results. With tools like a screwdriver, saw, putty knife, and materials such as sanded caulk, grout, construction adhesive, and the panels themselves, the process becomes manageable.
Moreover, faux brick allows for more control over color and pattern consistency compared to real brick, enhancing its appeal for specific interior design schemes. While thin bricks may offer authenticity in texture, the ease and speed of installing faux brick panels stand out, making sophisticated home renovation no longer exclusive to professional designers. Whether it’s a feature wall or an entirely themed room, faux brick wall panels can bring your creative visions to life.

