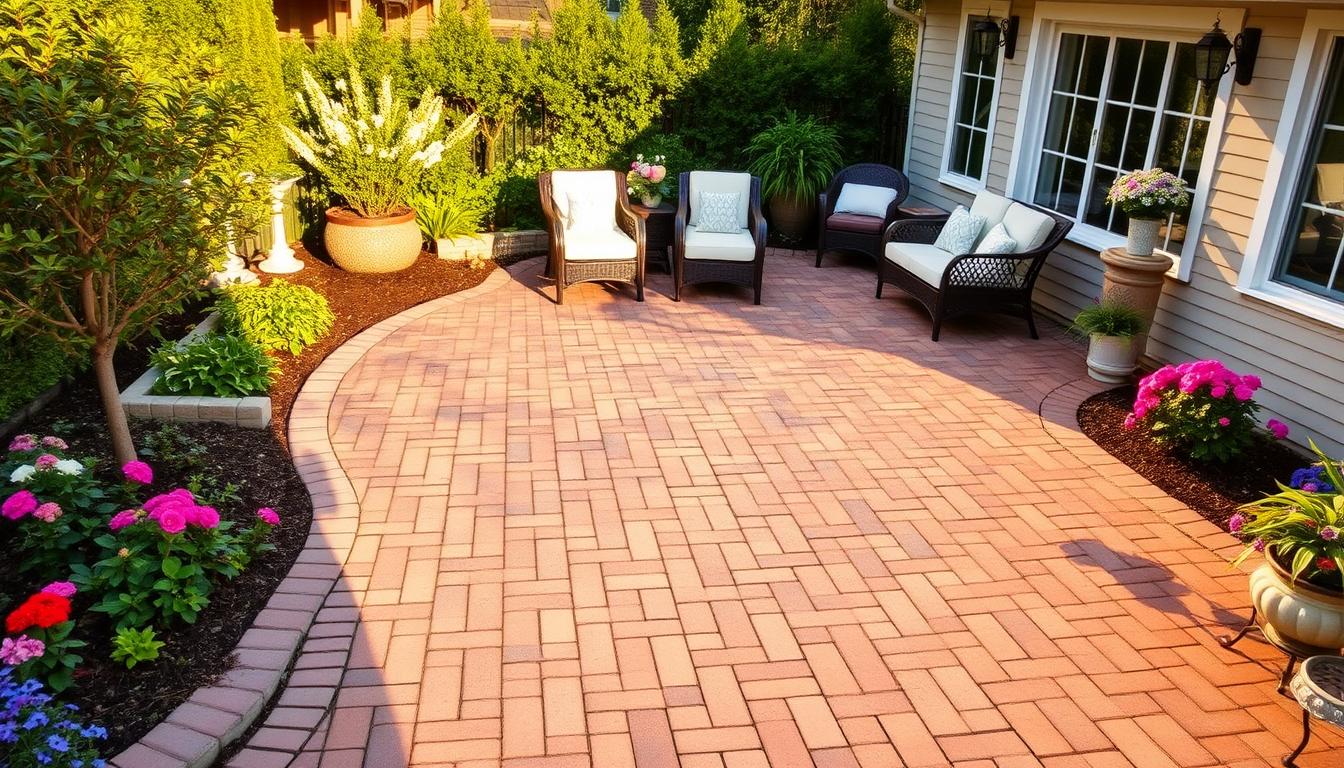
Transforming your outdoor living space into a stylish and durable patio requires both creativity and a good understanding of the practical steps involved in the process. Installing brick pavers is a popular choice among homeowners due to their blend of aesthetic appeal, durability, and versatility. This 2024 guide aims to provide comprehensive insights into all aspects of patio installation using brick pavers, offering you the knowledge needed to turn your backyard into a stunning outdoor paradise. Understanding the importance of preparation, choosing the right design and materials, and executing the installation steps correctly will ensure a patio that withstands the elements and continues to impress for years to come.
Key Takeaways
- Brick pavers come in various sizes, shapes, and materials, making them highly customizable for any patio design.
- Proper drainage is essential, with a recommended gradient of 1/4″ per foot for water runoff.
- Laying 1-3 inches of coarse sand inside the forms before placing the pavers enhances stability.
- Popular installation patterns include basket weave, herringbone, and running bond.
- Paver patios are generally more DIY-friendly compared to poured concrete patios.
Incorporating brick pavers into your patio installation project not only elevates the aesthetic appeal of your outdoor living space but also promises a durable design that can withstand the test of time. Whether you’re inclined towards a DIY landscaping approach or seeking professional assistance, understanding the nuances of brick paver installation will equip you to create the stylish patio you’ve always envisioned.
Preparation and Planning for a Stylish Patio
The journey to a stunning patio begins beneath the surface with meticulous preparation and planning. First, it is essential to avoid underground utilities during the 8-10 inch excavation. Selecting a paver pattern that suits your style and the complexity you’re comfortable with is equally important. Ensuring your patio space accommodates your outdoor furniture is crucial in these early stages.
Choosing the right materials is fundamental to achieving a durable and stylish patio. For instance, Unilock Brussels Block pavers are highly recommended for their robustness and aesthetic appeal. During your DIY landscaping project, ensure the base coat is 4-6 inches thick with 3/4-inch clean gravel, topped with a 1/4-inch or 3/8-inch clean chip stone layer. Following a detailed installation guide helps in setting the correct pitch of 1/8 inch per foot for effective drainage.
When it comes to patio paving ideas, consider using plastic paver edging or concrete for securing the edges, supported with stakes every few feet. This provides stability and prevents shifting. Filling the joints with G2 Polybind sand enhances the patio’s visual appeal and stability, and it’s activated by misting with water to create a firm, weed-resistant surface.
Integrating maintenance tips early on can save time and effort. Protect your pavers during compaction by using a pad under the compactor to avoid scratches. Regular checks and routine upkeep ensure your investment in outdoor decor remains stylish and functional. Additionally, incorporating sight lines from your home into your design ideas can elevate the overall look and feel of your outdoor area.
Creating a robust patio isn’t just about materials—strategic planning plays a vital role. For a 60-square-foot patio, approximately 60 paver stones sized 12 inches by 12 inches are needed. Proper safety measures during paver installation cannot be overstressed—protective gear such as gloves and eyewear are recommended while cutting pavers.
Planning and preparation are the backbone of any successful patio project. With these patio paving ideas and thorough installation guide, you’re well on your way to crafting a beautiful, durable outdoor space that reflects both your personal style and practicality.
Steps to Install Brick Pavers in Patio
Embarking on the journey to install brick pavers for your patio requires a detailed and methodical approach. Follow these steps to ensure a successful patio installation.
Gathering the Right Tools and Materials
Before starting, gather essential tools like shovels, a level, tamper, saws, mallet, and broom. Depending on your installation guide, you may also need a plate compactor. Materials such as brick pavers, gravel, sand, furring strips, screws, and paver restraints are vital. Ensure you have enough supplies for your patio size and design considerations.
Noting the weight of patio pavers, plan for assistance during delivery and avoid unnecessary delays by confirming all materials and tools are on hand.
Preparing the Site
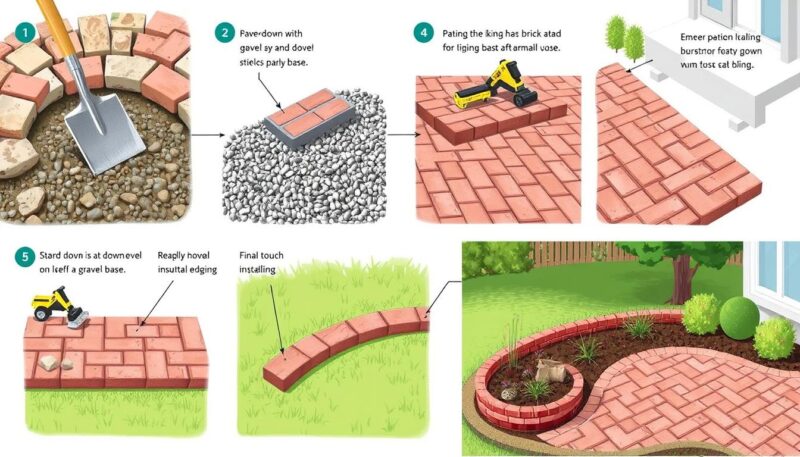
Begin with thorough site preparation. Establish a square and level base layout using strings and stakes, ensuring proper drainage by sloping the area away from your home. The recommended excavation depth is eight inches to accommodate both paver thickness and base layers. A four-inch layer of crushed stone serves as a firm foundation, while at least one inch of sand creates a smooth bedding layer.
Install landscape fabric to prevent weed growth, and consider using paver base panels for enhanced stability. This comprehensive site preparation ensures a durable and long-lasting patio installation.

Laying the Pavers
Start laying the pavers along the edges, working inward with a preferred pattern such as herringbone, basket weave, or jack on jack. Use strings for alignment and a mallet for adjustments. Maintain consistent gaps between pavers and use edge restraints to secure the perimeter. Patterns influence the time and effort required, so choose one aligning with your skill level and desired aesthetic.
Alignment with a six-foot level ensures proper drainage slope, contributing to the weather resistance of your patio.
Securing and Finishing
The final steps are critical in securing pavers and adding finishing touches. Sweep polymeric sand into paver gaps, compact it to lock the pavers in place, and enhance stability. This step also helps weed resistance. Proper application and cleanup are crucial to prevent stains or discoloration.
Securing pavers and ensuring all finishing touches are attended to will enhance the longevity and beauty of your new brick paver patio, providing a durable and stylish addition to your outdoor space.
Conclusion
In conclusion, undertaking the construction of a DIY paver patio is a gratifying endeavor that enhances both the beauty and practicality of your outdoor living space. By adhering to the detailed steps in this 2024 guide, from meticulous preparation and planning to the final securing and finishing touches, you will achieve an elegant and durable design.
Cost considerations play a significant role in your project’s success. With brick patios costing between $4 to $12 per square foot, depending on the installation method, and a required base of about 4 inches of crushed stone or gravel, budgeting carefully is crucial. Additionally, investing in quality tools like a brick hammer, tamper, and masonry saw can make a substantial difference in achieving professional results. Remember, the layout and design complexity along with material choices will influence the overall cost and labor involved.
Maintenance tips to ensure the longevity of your stylish patio include regular inspections for wear and timely repairs. Proper leveling, drainage planning, and the use of landscape fabric to prevent weeds are essential for sustained functionality and aesthetics. By following this comprehensive guide, you equip yourself with the knowledge to create a durable, stylish patio that stands as a testament to your DIY skills and enriches your outdoor living experience for years to come.

