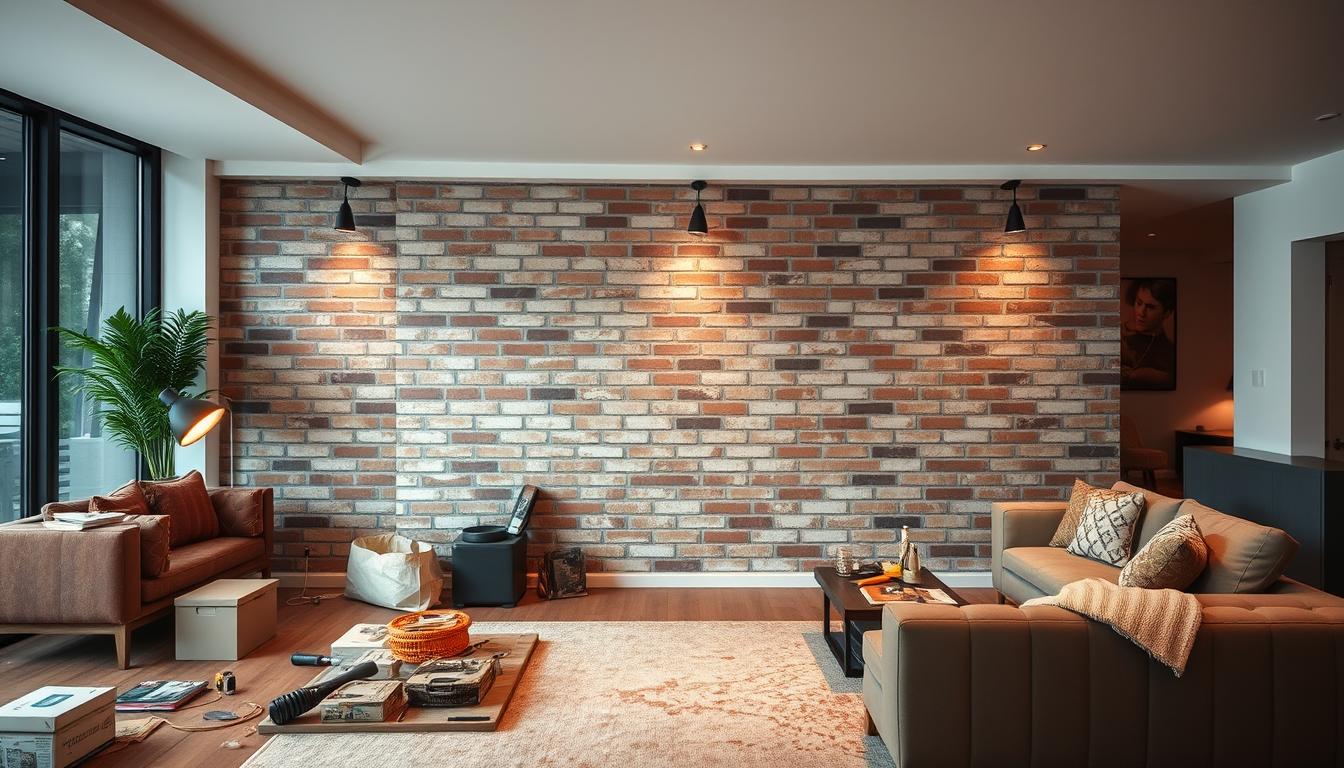
Transforming your living room with faux brick panels is an exciting DIY installation project that brings sophistication and charm to your home decor. It’s a fantastic way to enhance your living room space, making it look stylish without breaking the bank. By following this beginner guide, you’ll navigate the installation process smoothly and achieve professional-looking results that can elevate your home’s interior design. Let’s dive into the world of brick panels, where your home improvement journey begins now.
Key Takeaways
- Faux brick panel wall installation can be completed in just two days.
- Adhesive MDF faux brick paneling is thinner and easier to install compared to real brick.
- Faux brick paneling comes in a variety of colors and textures.
- Panels must be installed from the bottom up due to the grout at the bottom.
- Project cost is under $200, with a total time requirement of about 4 hours.
Introduction to Brick Panels and Their Benefits
Brick panels have become popular among DIY enthusiasts due to their versatility and ease of installation. These panels offer an excellent way to enhance home projects with authentic-looking interior accents. Faux brick panels, in particular, have gained traction as they provide accessible and creative solutions for homeowners. Let’s delve into the specifics of these panels and understand their many advantages.
What are Faux Brick Panels?
Faux brick panels are thin, lightweight materials designed to mimic the appearance of real brick. Typically made from hardboard, foam, or polyurethane, these panels often come in convenient 4×8-foot sheets. Unlike traditional brick, faux brick panels are much easier to handle and install, making them an ideal choice for DIY home projects. They require fewer specialized skills, thus enabling you to create stunning interior accents with minimal effort.
The Aesthetic Appeal of Brick Panels
The aesthetic value of brick panels is undeniable. By incorporating faux brick panels, you can transform a room, giving it a warm and inviting atmosphere that combines rustic charm with modern design enhancement. These panels can easily be tailored to match any décor theme, adding a unique texture and visual interest that real brick provides without the bulk and complexity. This makes them ideal for sprucing up living rooms and creating focal points in your home.
Cost-effectiveness and Ease of Installation
One of the standout benefits of faux brick panels is their cost-effectiveness. Generally, faux brick veneer costs between $4 and $10 per square foot, while brick paneling ranges from $6 to $11 per square foot. Compared to traditional brick, which involves significant masonry work and higher expenses, faux brick panels offer a budget-friendly alternative. Moreover, the installation is significantly less complex and time-consuming, typically requiring less specialized skill. This convenience allows you to undertake home projects and achieve speedy and impressive results.
Additionally, faux brick panels enhance design flexibility. Since the panels are lighter, usually about 1/2 to one inch thick, they are helpful in wall systems where traditional bricks’ weight and space are impractical. This feature has made them popular for creative solutions in modern architecture.
The introduction of brick veneer, which started gaining popularity in the 1990s due to improved thermal efficiency, further underscores the value of these materials. Its use has evolved, with products like StoPanel Brick ci meeting various building codes and sustainable standards. These systems offer enhanced energy efficiency, exemplified by the insulating wall systems by StoTherm ci MVES Brick Veneer, which combines durability with significant thermal performance.
| Feature | Faux Brick Panels | Traditional Brick |
|---|---|---|
| Cost per square foot | $4 – $11 | Higher |
| Thickness | 1/2 to 1 inch | Full Brick Size |
| Ease of Installation | Simpler, less specialized skill | Complex, requires masonry work |
| Energy Efficiency | High with added insulation | Less, no insulation |
| Material | Hardboard, foam, polyurethane | Real Brick |
| Flexibility in Design | High | Moderate |
Supplies Needed for DIY Installation
Starting your home projects with the right supplies and essential tools is crucial for achieving a professional-looking faux brick wall. Understanding what you’ll need ahead of time can save you from unexpected complications and ensure a smooth installation process.
Essential Tools
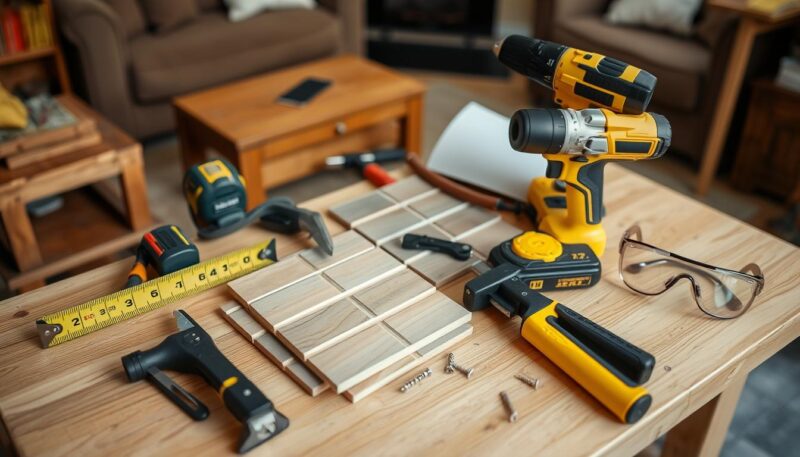
Before diving into your DIY project, it’s important to gather all the essential tools required for a successful installation. Key tools you’ll need include:
- Miter saw
- J roller
- Table saw
- Brad nailer
- Jig saw
- Carpenter’s square
- Level
- Ladder
- Pencil

These essential tools will help you make precise cuts and securely attach your panels to the wall, ensuring a stunning end result.
Shopping for the Right Panels
Selecting the right panels is a critical step in your home projects. A popular choice is the Kingston Brick Hardboard Wall Panel available at Home Depot, which offers a robust and attractive appearance. Each 4×8 sheet costs around $29, making it an affordable option for transforming your living space.
Keep in mind the size and number of panels you’ll need. For example, using three 4×8 panels requires six tubes of construction adhesive, considering two tubes per panel. Additionally, ensure you have a power drill and level handy for an evenly installed, sturdy wall.
| Supplies | Quantity | Details |
|---|---|---|
| Brick Wall Panels | 3 | Each 4×8 in size |
| Construction Adhesive | 6 tubes | 2 per panel |
| Brad Nailer | 1 | With 18-gauge nails |
| Circular Hand Saw | 1 | For precise cuts |
| Power Drill | 1 | Essential for installation |
| Jig Saw | 1 | For outlet adjustments |
| Level | 1 | For ensuring even panels |
Adhering to this shopping guide ensures you’re fully equipped for your faux brick wall installation. For finishing touches, consider optional supplies like caulking to smooth the edges and provide extra protection. With the right preparation, your DIY home project can transform your living room in less than a day.
Step-by-Step Guide to Installing Brick Panels in Living Rooms
Transform your living space with this easy-to-follow step-by-step guide to installing faux brick panels. Achieve a modern aesthetic with minimal effort, turning your living room into a stylish centerpiece. This renovation guide ensures your wall transformation is a breeze, even for beginners.
Preparing the Wall
Begin by clearing your living room wall of any outlet covers or hardware. Ensure the wall is clean, flat, and dry, providing a plumb starting point. It’s recommended to store your brick veneer panels indoors on flat ground to prevent warping and allow them to acclimate to the installation space for at least one day.
Cutting and Fitting the Panels
Next, measure and mark your panels for any necessary cuts, taking care to double-check your measurements for accuracy. Use a skill saw or jigsaw to make precise cuts. Sand the sawed edges with 100 grit sandpaper for a smooth finish. Align the brick patterns for a seamless look, staggering panel installation by 1/3 of their length.
Securing the Panels
Apply adhesive to the back of each panel and the surface material before nailing or screwing the panels. Start from the bottom up, ensuring the first row of panels is straight and level. Use screws or a nail gun to secure the panels firmly. For installation on concrete, brick masonry, tile, or stone, use TapCon screws. Fit each panel snugly end-to-end, securing the perimeter every quarter length to avoid damage and achieve a sturdy installation.
Finishing Touches
To complete your project, apply a primer if necessary and paint pre-painted panels to match your desired color scheme. Caulk seams for aesthetic continuity, and use joint compound to seal gaps between panels meeting the ceiling or corners. Conceal any visible screws or holes with caulk, spackle, or wood filler, then apply touch-up paint or stain. Water-based paint drying time can vary based on airflow and temperature, so plan accordingly.
With precision and patience, you can achieve a stunning faux brick accent wall that enhances your living room’s overall aesthetic.

